
Anycubic • Photon P1 • Resin 3D printing
Fine detail. A more deliberate resin workflow.
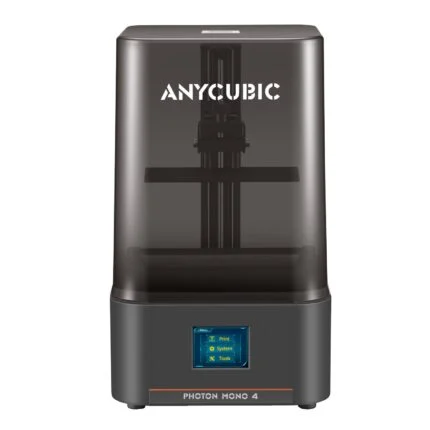
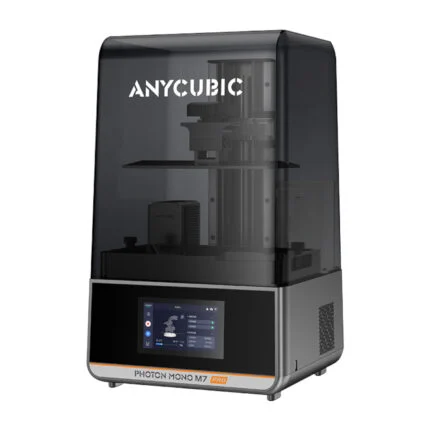
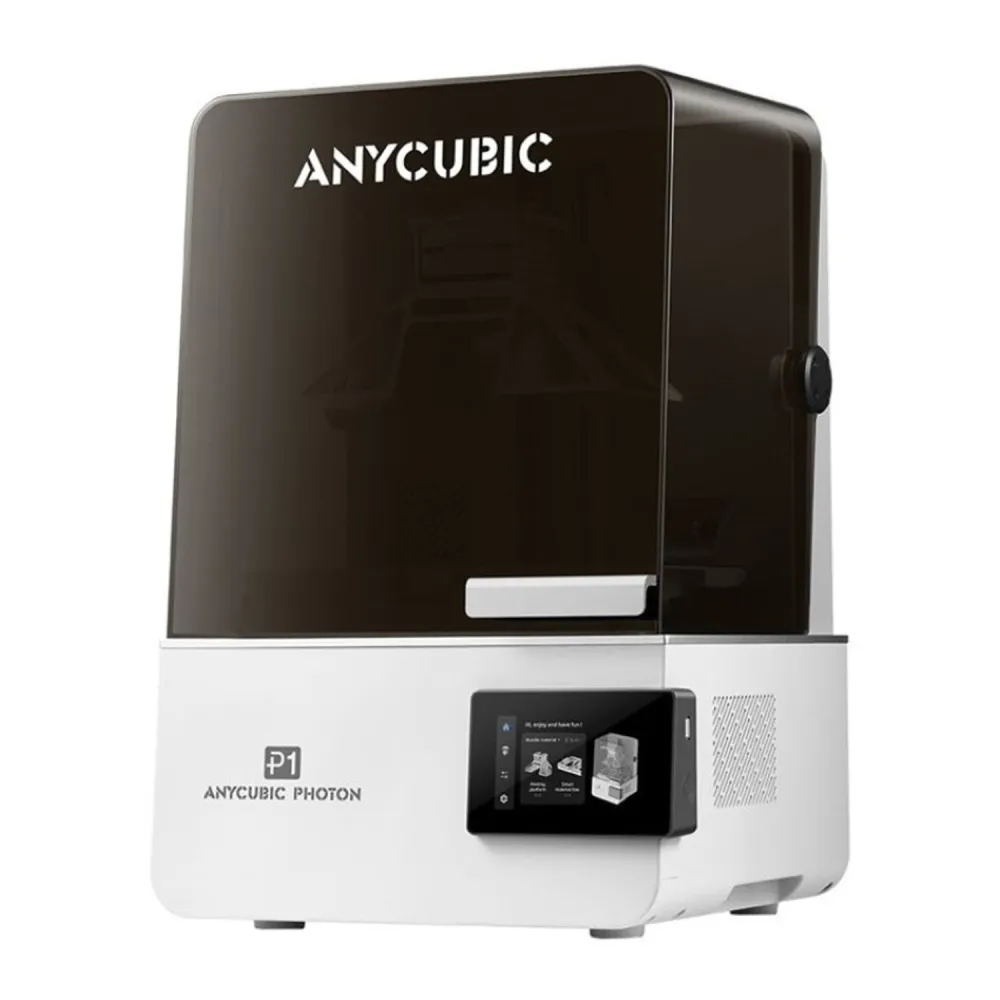
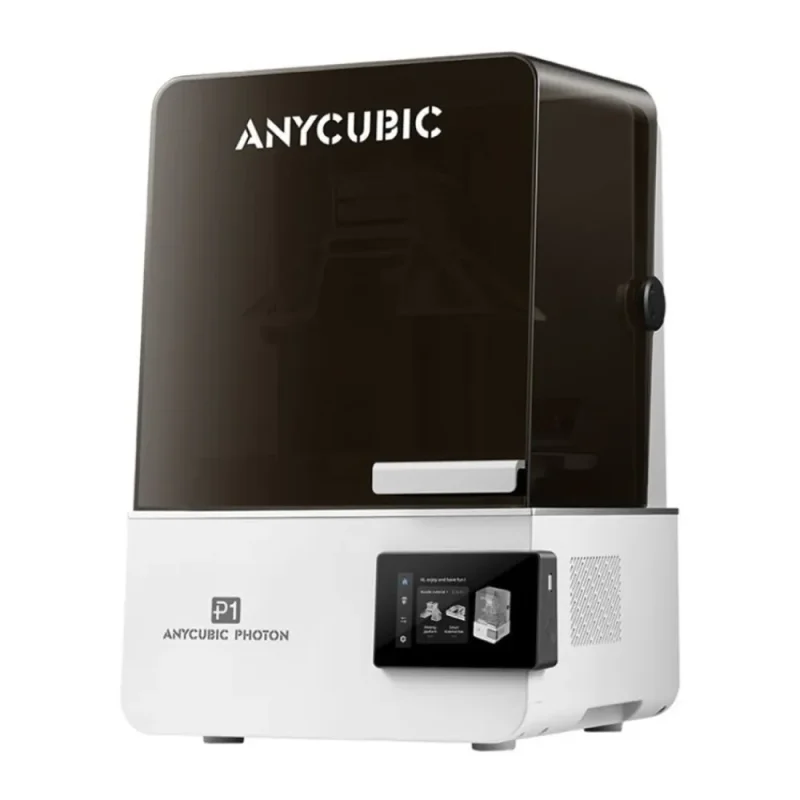
The Photon P1 pairs a 10.1-inch 14K exposure LCD, a 223 × 126 × 230mm single-plate build area and a ball-screw Z axis. Automatic levelling assistance, network printing and a temperature-controlled vat support the preparation of detailed models and prototypes. Resin choice, exposure settings and careful post-processing remain part of every successful job.

Detail in the model
An exposure system built around small features.
The 10.1-inch LCD is the exposure panel beneath the resin vat, rather than the operator touchscreen. Its 13,312 × 5,120 matrix and 16.8 × 24.8µm XY pixel size give a useful basis for planning fine geometry. Pixel size and the manufacturer’s 0.02mm Z-axis specification are different measurements; neither promises that every finished part will match those dimensions.
A stable vertical path
A stable path for each layer.
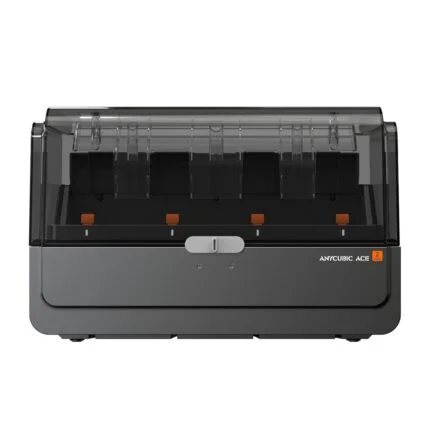
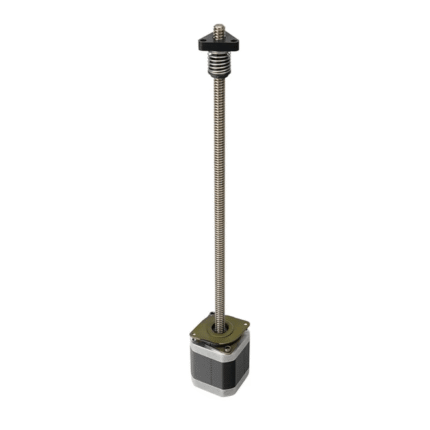
A ball screw and linear guides support the Photon P1’s vertical motion. Use the 0.02–0.15mm layer range to balance surface stepping against print time, and follow the resin profile rather than treating one setting as universal. The single-plate build space is 223 × 126 × 230mm; the optional dual-material arrangement has a smaller working area and is not assumed included.
Resin preparation
Temperature and resin level deserve attention.
The smart vat can be set to preheat between 25°C and 40°C before printing. During a print its temperature-control logic differs from the preheat setting. A pressure-sensor check estimates resin sufficiency before the job; it does not continuously measure resin level throughout printing. The vat holds up to 1L at its marked maximum. Do not touch a hot vat directly.
Setup and observation
Assistance still needs an operator.
The levelling-free design normally avoids frequent manual adjustment, but recalibration can be necessary after component replacement, a levelling error or a physical impact. The integrated monitoring camera supports remote viewing and time-lapse capture; enable time-lapse before starting. Monitoring can miss partial failures, so it does not replace inspection of the model, film and build plate.
Connected preparation
Choose the connection that fits the workspace.
Prepare models with Anycubic Photon Workshop and transfer a job with a USB drive or the supported WLAN/LAN workflow. The wireless interface uses the 2.4GHz band. Anycubic lists Windows 10, Windows 11 and Mac support; check the current slicer requirements for the chosen computer. Network access and cloud account requirements depend on the printing method selected.
A complete work area
Plan beyond the printer footprint.
The 366 × 338 × 539mm machine weighs 13.6kg. Allow working room for access, resin handling, cleaning and curing, and follow the resin safety data and product instructions. Position it on a stable, ventilated surface away from direct sunlight. Resin, washing/curing equipment and the dual-material kit must not be assumed to come with this printer-only listing.

Reviews
There are no reviews yet.